How to create an Apple Developer Account?
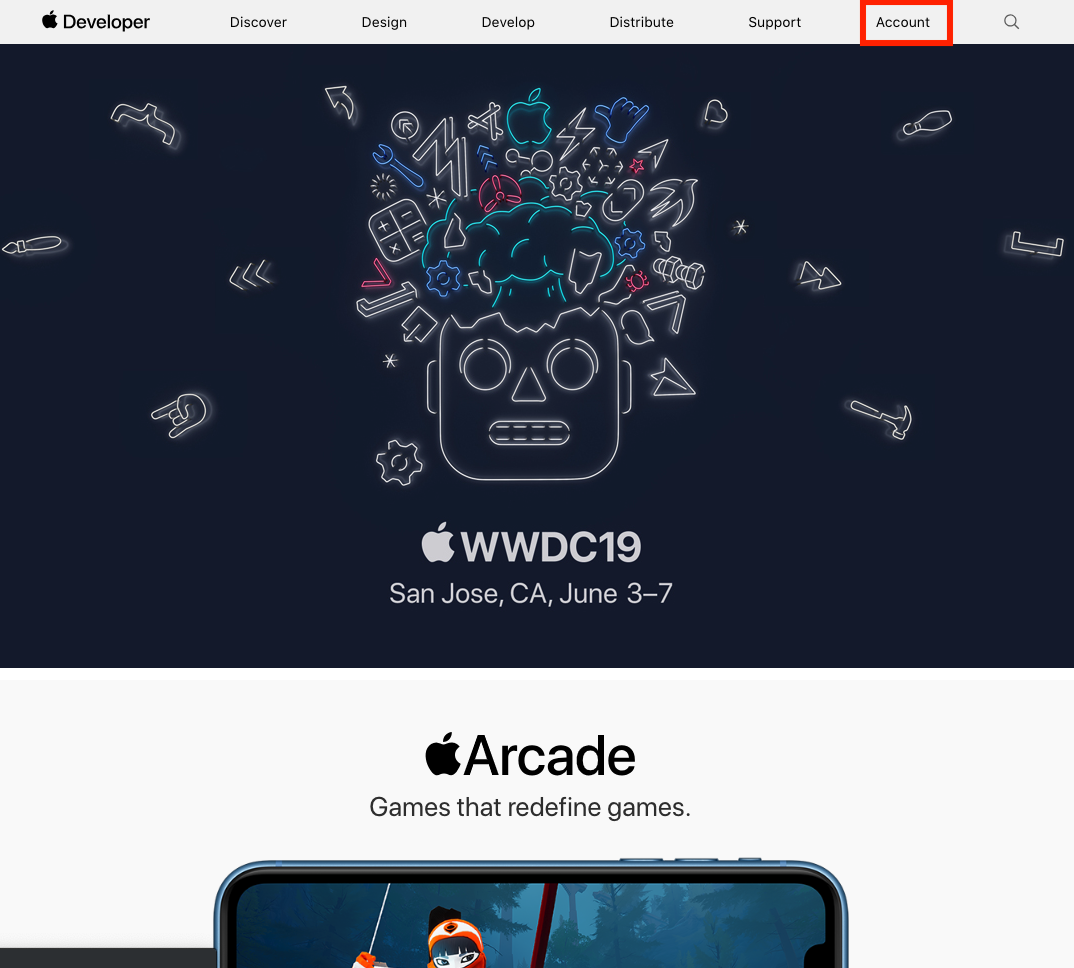
Step 1: Go to Apple’s developer website and create an Apple ID if you don’t already have one and set up two-factor authentication for your account
Then click on “Account” at the top of the page.
If you don’t already have an Apple ID you can create one by clicking on the “Create yours now” link next to “Don’t have an Apple ID?”
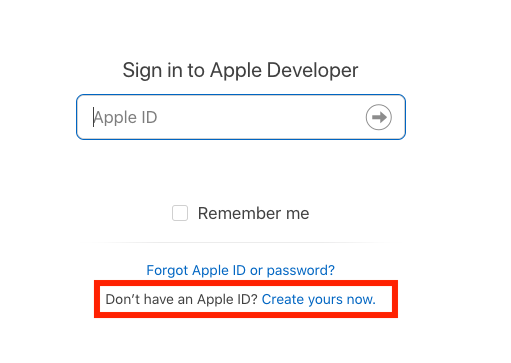
This will take you through the process of creating an Apple ID which will allow you to log-in to your Apple developer account once created. If you already have an Apple ID created that you’d like to use, go ahead and log-in with that Apple ID.
Once you have created your Apple ID, you will also need to enable two-factor authentication on it which is a requirement by Apple for all Apple IDs.
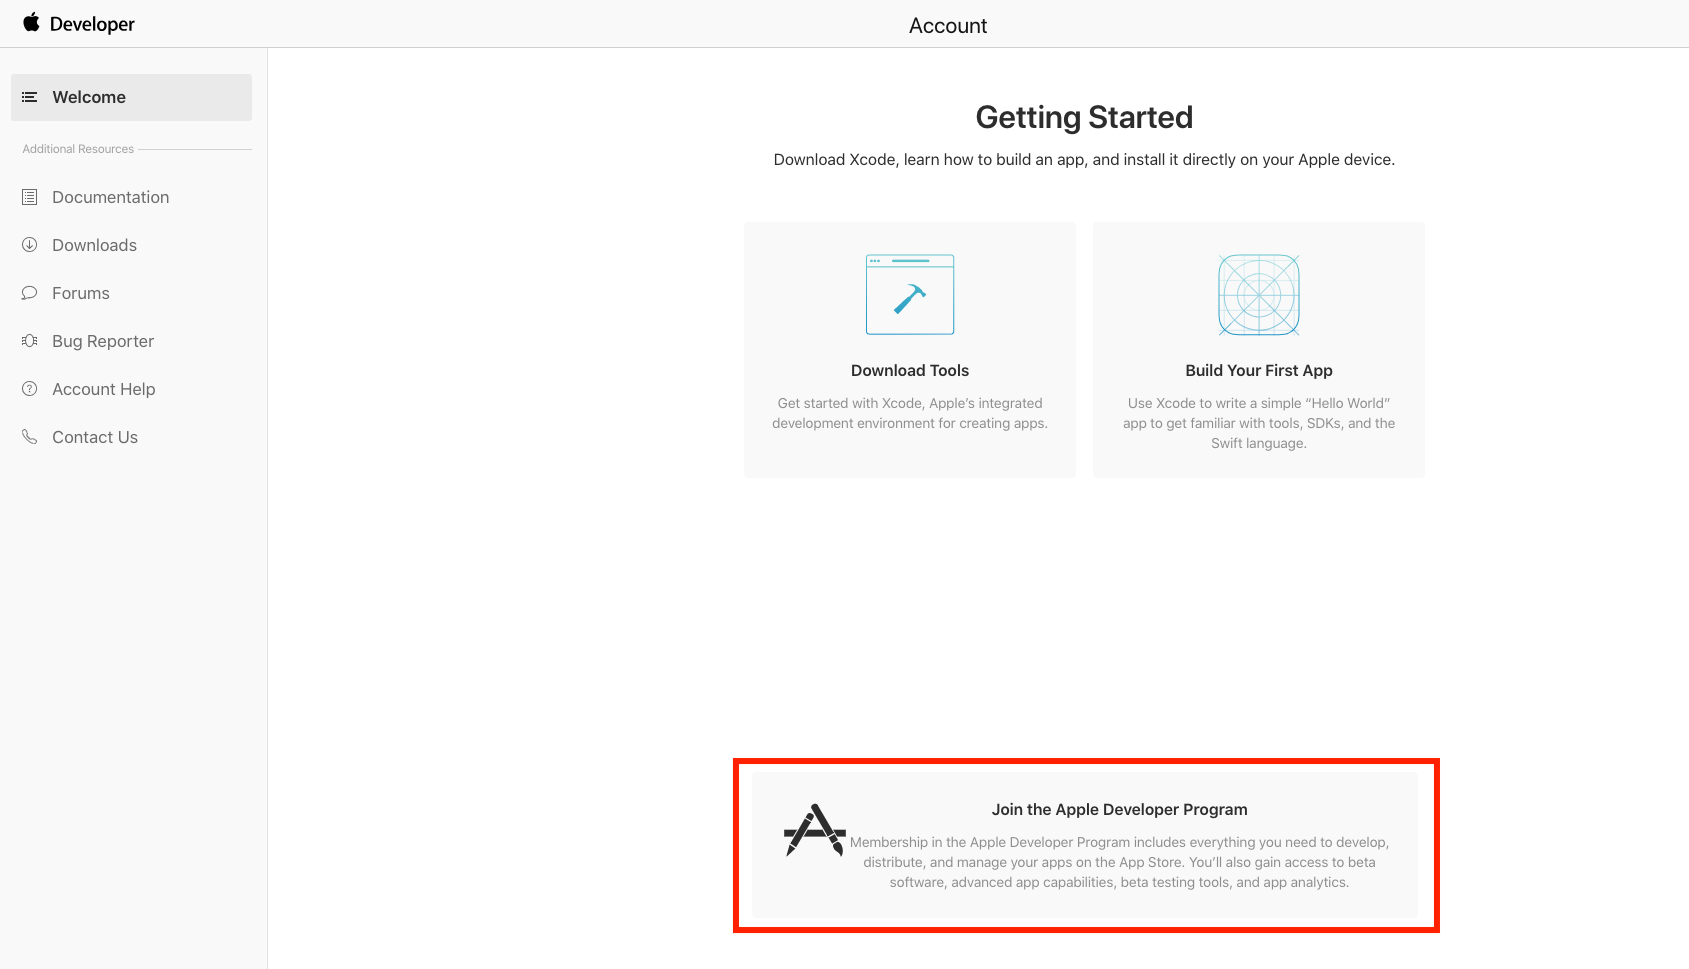
Step 2: Click “Join the Apple Developer Program”
Once you’ve logged-in, or created a new Apple ID and have logged-in with it at https://developer.apple.com/ you’ll see a link titled “Join the Apple Developer Program”.
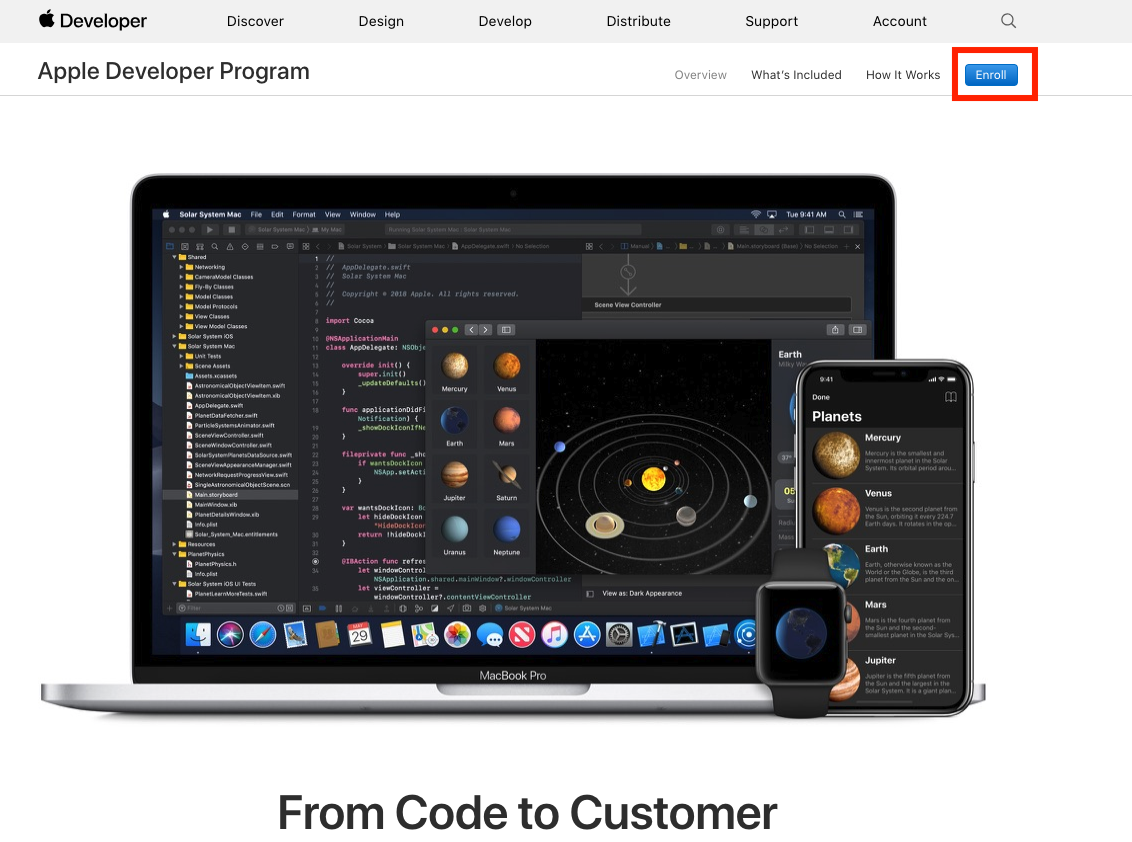
This will take you to a page where Apple tells you all about the developer program. You can read through this if you want, but once you’re ready click on the “Enroll” button.
This will take you to a page telling you what the two different account types are, and what you need for each one. These are the two different types of Apple developer accounts:
Individual:
An individual account only allows for a single primary login to be created to the iOS Developer Account. Also, the developer name that will be made public (on the App Store) will be your First and Last name. Sign up for an individual account only if your app is branded to you as an individual.
Company/Organization:
A company/organization account allows for multiple user logins to be created and managed with varying permissions capabilities for each login. The developer name that will be made public will be your company or organization’s name.
Enrolling in the correct account, or entity type, is vitally important to getting your app submitted and approved by Apple. Not sure which account type to enroll as? It all boils down to what your app’s content is for, and what it’s branding is set to.
Enrolling as a Company/Organization will require providing a Dun and Bradstreet number,
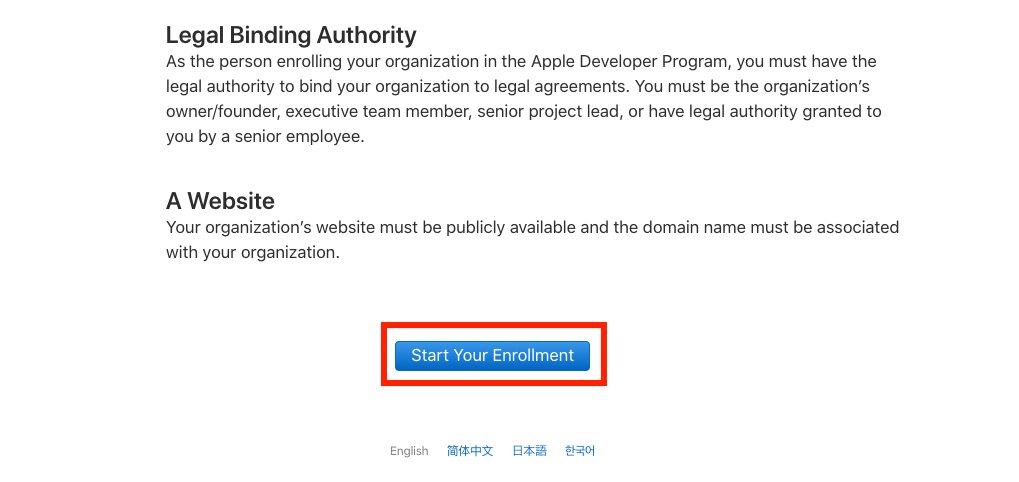
Once you have gone over this information click “Start your enrollment”.
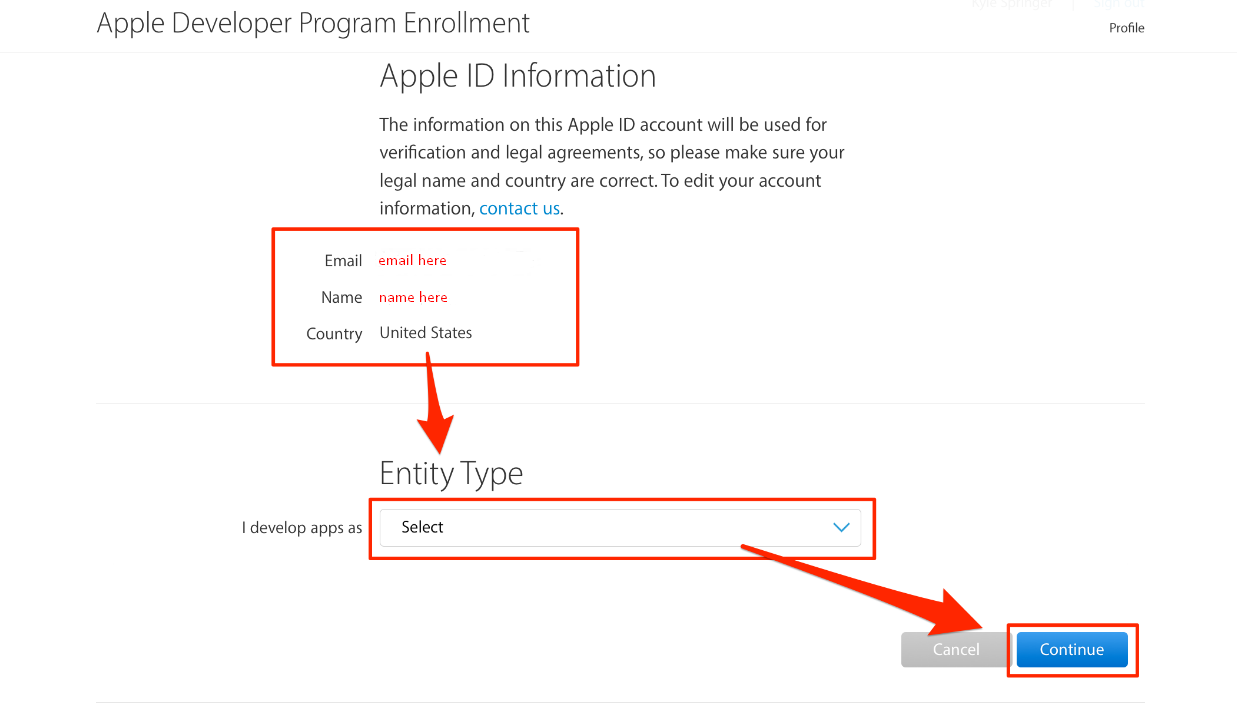
Step 3: Confirm that your email address, name, and Country location is correct, then select the type of account that you’re enrolling as
Next you’ll be asked to verify your email address, name, and country location then select the account (or entity type) that you’re going to enroll as.
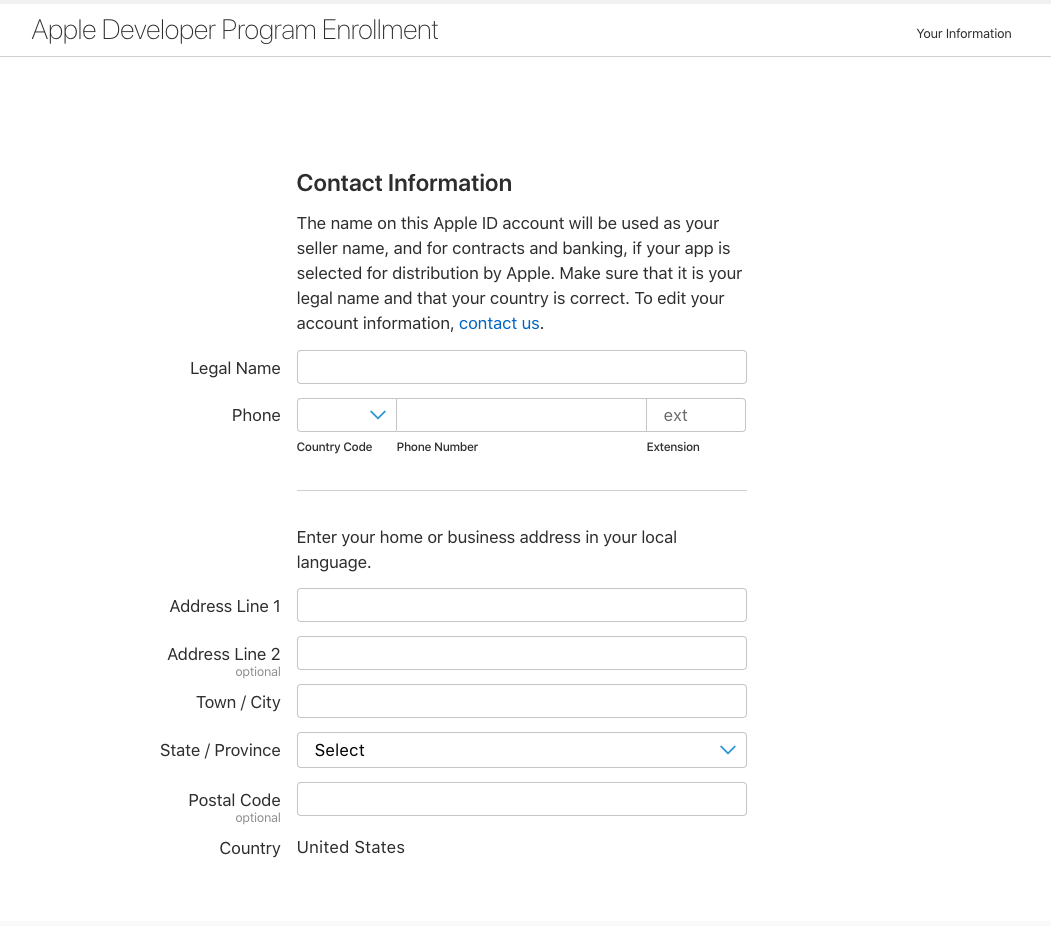
Step 4: Enter in your contact information and read through the agreement at the bottom of the page
In the next screen you’ll be asked to fill out the contact information for your account:
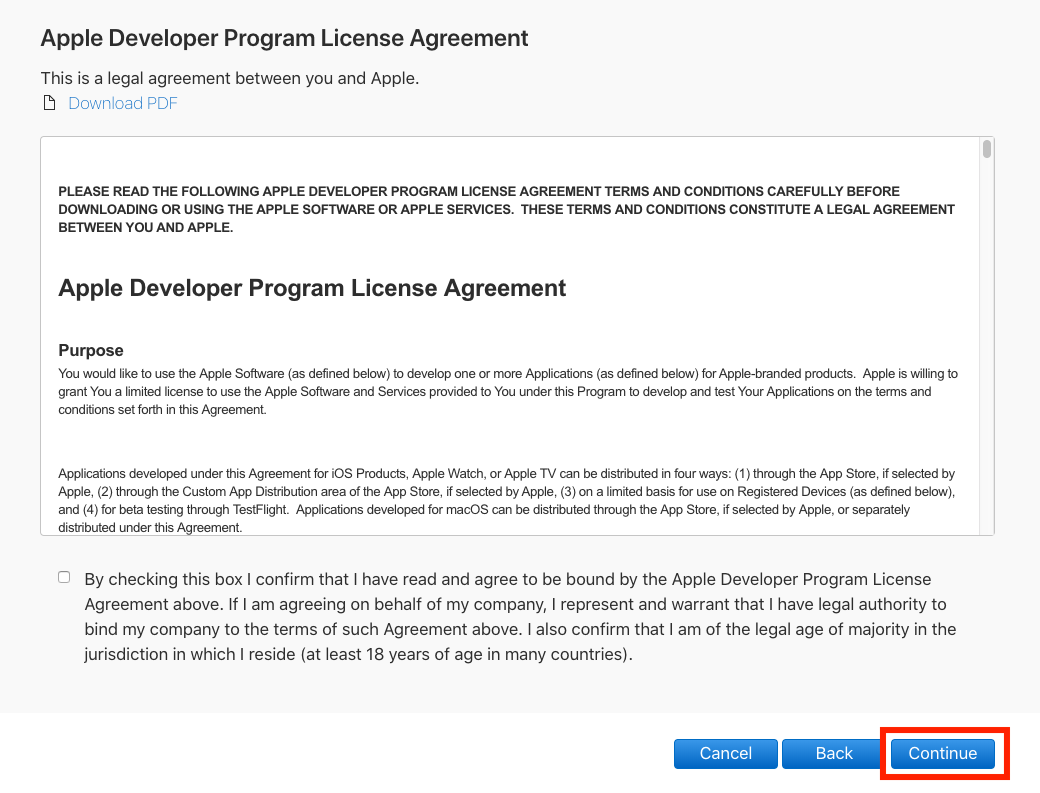
After that you’ll be asked to read through the Apple developer account agreement. Read through this then check the checkbox confirming that you’ve read it, and click Continue.
Step 5: Verify your account information then click “Continue”.
Once you have read through Apple’s Developer Program License Agreement and clicked continue you’ll be asked to verify your account information. Once you’ve done this click Continue.
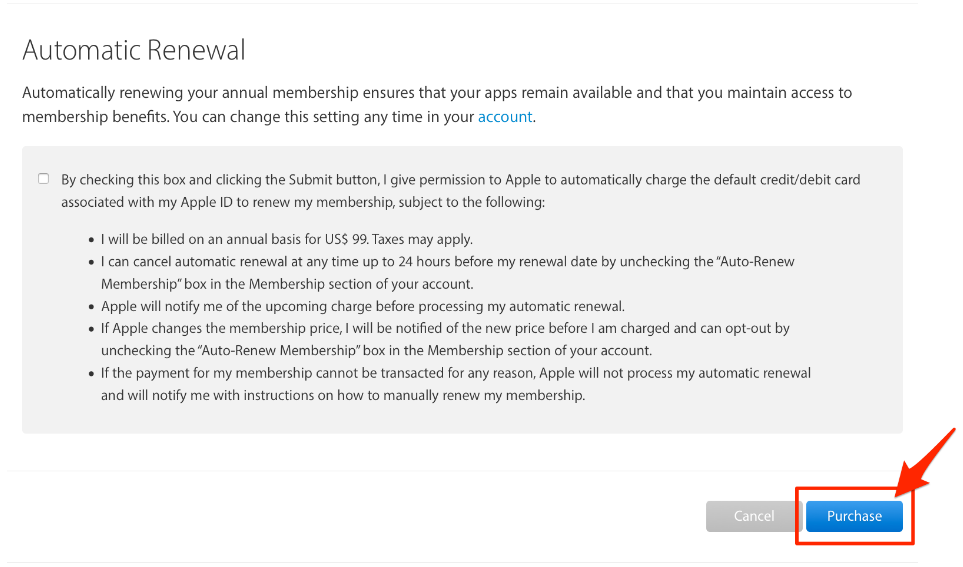
Step 6: Decide if you want Automatic Renewal
Next you’ll be brought to a screen telling you how much the enrollment fee will cost and it’s duration. You’ll also have the option to enable automatic renewal which will help you if you’d like to not worry about renewing your plan each year. Go ahead and check the box if you’d like to enable this (you can always disable it later) then click Purchase to move onto paying for your developer account.
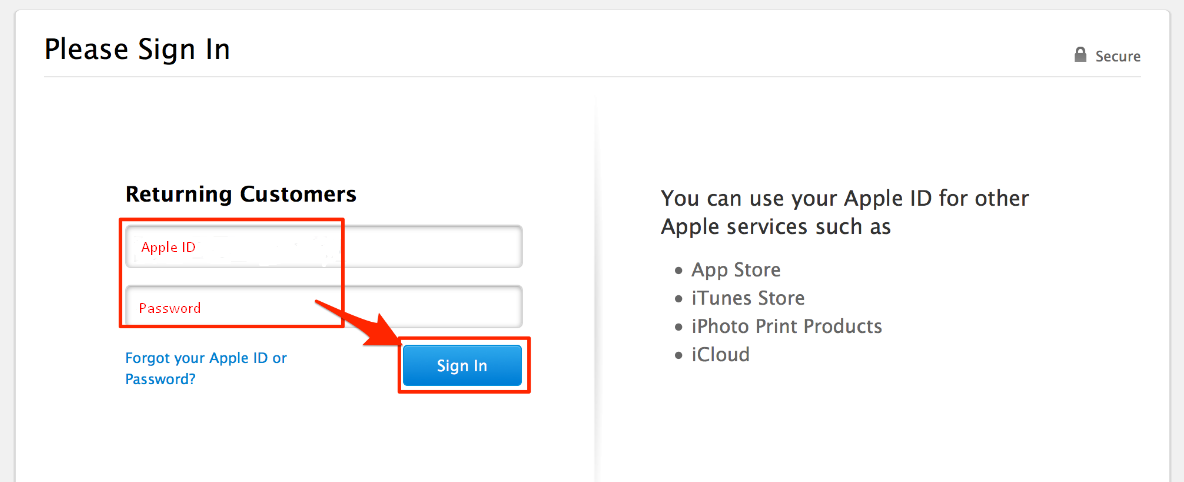
Step 7: On the next page, sign in with your Apple ID.
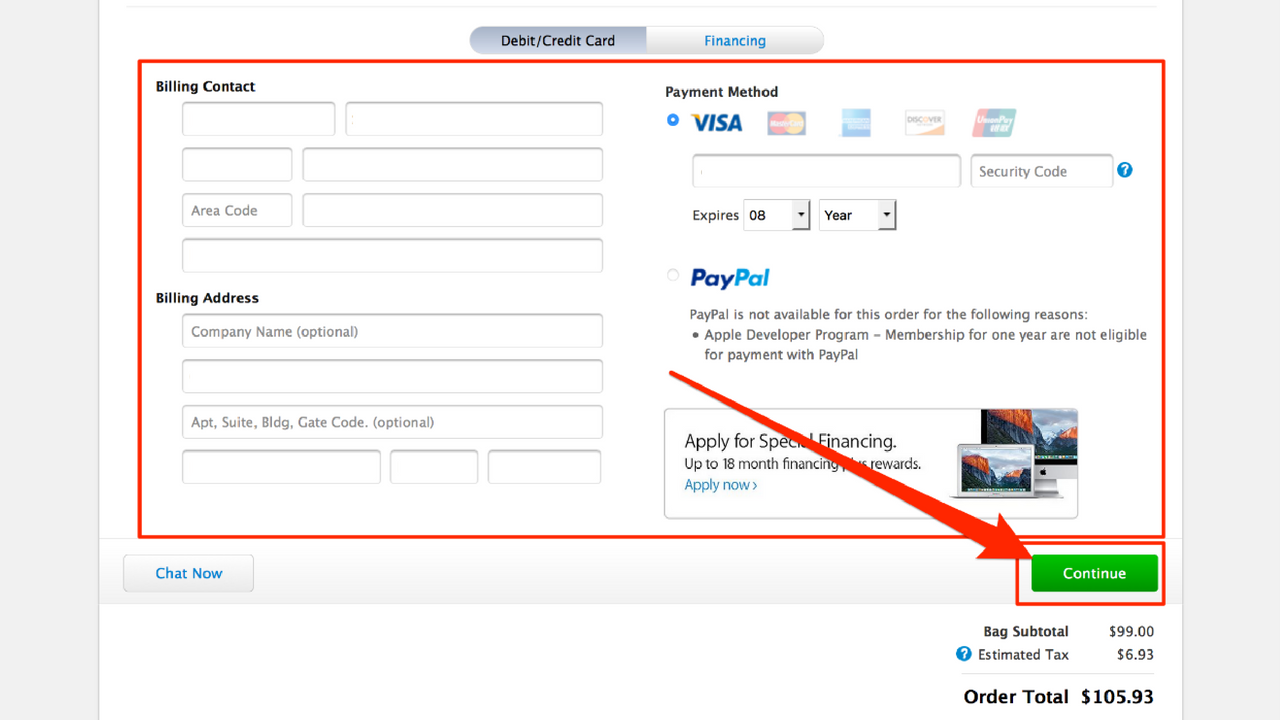
Step 8: Fill in your billing information then click Continue to finalize your payment.
Step 9: Fill out the rest of the information on the proceeding screens
Within 24 hours, Apple should send you an email confirming that your Apple Developer Account has been created successfully.